
Seesaw Basics: Upload a PDF, Doc, or slides as Ready to Go Activities
- Jan 7
- 3 min read
by Elvia Escobar Tavares, Classical Center at Vial Elementary
Seesaw is one of my favorite classroom tools because it gives students creative ways to show what they know. They can draw, record themselves, or respond to activities in ways that feel fun even if it is a worksheet. For us as teachers, it gives us the opportunity to upload materials we already have or find activities from the Seesaw library that meet our student needs or objectives, or we can adjust and modify. We also have everything organized in one place.
In today’s digital learning environment, I want to share with you how using Seesaw is an easy tool that becomes essential for teachers and students. This post will explore the basics of how you can use an already ready presentation to model how to use some of the tools embedded into a Seesaw canvas, such as the pencil and microphone.
What Is Seesaw?
Seesaw is a student portfolio and communication tool in which the students can upload assignments, record audio and video, draw, take pictures, and respond to activities in creative ways. Teachers can also provide feedback to students, track student progress, and connect with families, sharing their students’ work.
Why I Use It in my students Education
My students love to hear themselves reading, answering questions, or creating their own stories and sketches.
As a teacher, I upload already created materials as PDFs, docs, slides… for students to work on right away, or find specific assignments from the Seesaw library already done that match my objectives.
I get formative assessments, differentiated activities and family communication.
Getting Started (It’s Easier Than You Think!)
1. Navigate to seesaw.com and log in as a teacher.

Select “I am a teacher”

Enter your e-mail address or sign in with Google

2. Click the green plus sign, and choose “Create Activity or Assessment”

3. Select “Upload file” and grab something from your computer or Google Drive.


Open the file you want to work with.

Now, the fun part: Using Seesaw tools!
On the bottom, I chose the pencil, and on the right, I chose the color I will use to mark or highlight my selection.


I use the microphone to model to my students how to record myself giving directions or reading aloud. I integrate the voice of my students and mine reading together. They love to listen and replay these recordings. This makes the instructions clear and the learning more personal and engaging.
Click on the microphone,

Click on the purple rectangle that says “start recording.”
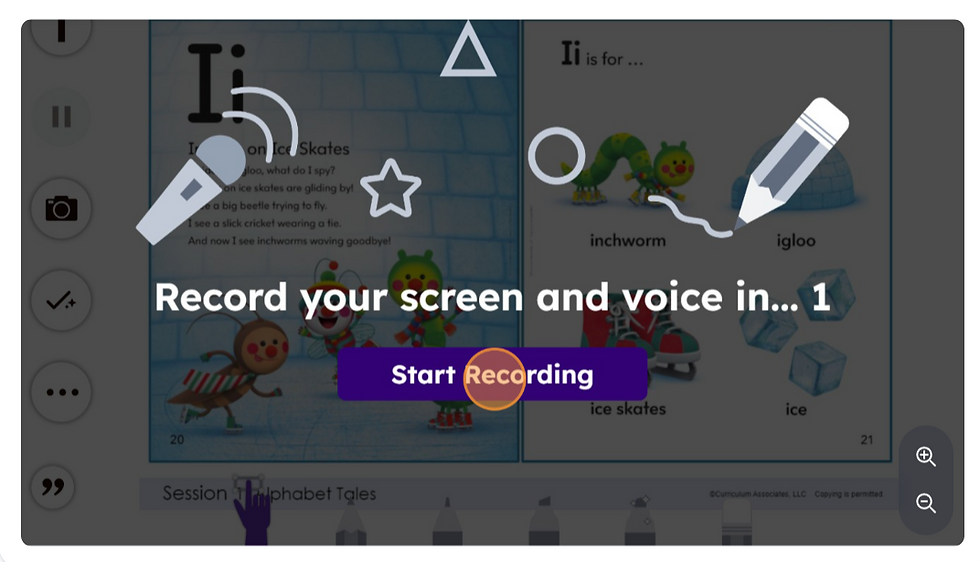
Click on the arrow below to guide your students through the reading together.

When you are done with your recording click on the green check mark that is on the top right of your screen.

When you are ready, give the activity a name, click Save, and then Assign it to your class. The students log in, clicking on the green “Add response” button, and they are in.


You have created your assignment!


Assign the date and time or click on “Assign now”
Tips That Make a Difference
Model First: I always model for the students first how to use each tool.
Keep it Simple: I show one tool at a time and one activity a week or two to avoid disinterest from the students and families.
Celebrate your students' work: I like or comment on my student’s submissions to keep their interest and good participation.
Teach posting expectations: I teach students when and how to post. I tell them that our parents and teachers are continuously admiring our amazing work.
Why I love it
Seesaw is not another tech tool-For me. It is a way to make learning visible. My students get excited to record, draw and explain their thinking, besides that our families feel connected to what is happening in our classroom. It is quick to set up, easy to use.
By incorporating Seesaw into your teaching practice, you can increase all your students' participation in an engaging way and parents can also see the work that your students are doing in the classroom. Sometimes, some kids fear the unknown of using Seesaw, but it is always powerful to pair them with other students that feel more confident to try. Soon all the students are doing it more confidently. Give it a try, and watch how it enhances learning in your classroom!
Additional Elements
You can also see the following resources to expand your curiosity .
Have you tried Seesaw in your classroom? Share your favorite activity or tip in the comments!
